Light map
Light Map
A texture that stores pre-rendered lighting, because dynamic real-time lighting typically doesn't look as nice and can be a performance hog.
Because the light map lighting is baked ahead of time the artist can use a non-real-time lighting techniques like radiosity, which can take many minutes to render. This allows the surfaces to receive bounce lighting, soft shadowing, color bleeding, etc., for a very realistic-looking result.
Traditionally, light maps store the color and brightness of pre-baked lighting. The Diffuse map is applied to the mesh with no lighting (like an Emissive map), and the light map is then multiplied against it, darkening the diffuse where the light map has shadows.
Because the light map is multiplicative, this can only darken the surface.
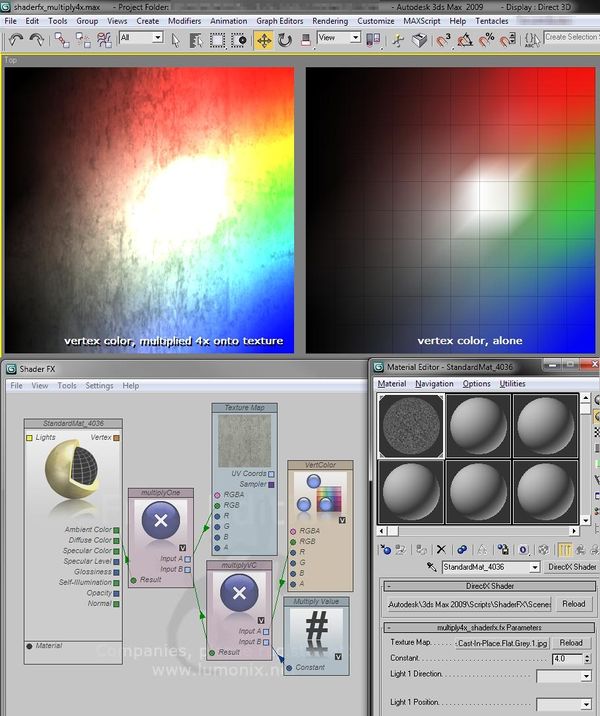
However, an over-multiply technique can be used instead to get an "over-exposed" look, where the light map is multiplied two or more times. If it is multiplied 2x this means middle-gray will cause the diffuse map to render at its regular intensity, while brighter light map values will cause over-brightening, and darker values will still darken the color map. If multiplied 4x then 1/4 gray becomes the middle value.

Another type of light mapping called Radiosity Normal Mapping or Directional Light Mapping is where the light is stored as directions in order to combine it with normal maps to create the appearance of higher-frequency light mapping. For more information see the Lightmaps: tech pros and cons thread on Polycount.
Light Map Texture Coordinates
Typically a light map requires each mesh to have a second set of UV texture coordinates, where every surface that will receive lighting needs to have its own unique space within the 0-1 UV square.
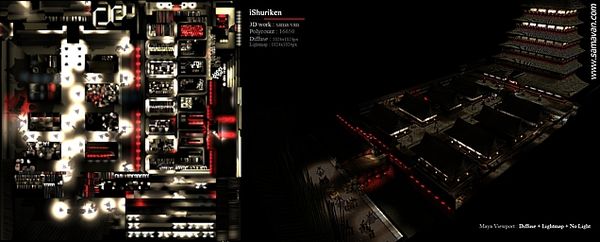
To help reduce the number of rendering batches, it is best to combine a bunch of meshes together into the same light map, giving each mesh its own UV space as needed. Often a game level is divided up into a sequence of light maps, each covering either a geographic area or a combination of props used throughout the level.
Some people create the light map UVs with an automatic unwrap & pack algorithm. Automatic unwrapping is faster and easier to create but it tends to waste more texture space, so the light map pixels end up larger on the model, the lighting is more blurry.
Time-permitting, for the best results it is best to start with a copy of the texture UVs (if they're good), unmirror any mirrored parts that need unique lighting, un-overlap any overlaps that need unique lighting, and scale up the UVs for areas that need greater lighting detail. Then pack them all into the 0-1 UV square with appropriate Edge padding space between the UVs.
When an artist manually tunes the UVs by overlapping/mirroring parts they know will receive identical lighting, and scaling up areas that have higher-frequency shadows, this allows the light map to have a higher apparent texture resolution. If overlaps are used, they should be moved at least 1 unit outside the UV square to avoid rendering errors when the lighting is baked.
More Information
- Bake HDR information in one RGB image - Polycount Forum
- Lightmaps: tech pros and cons thread on Polycount
- how to unwrap uv's for lightmaping purposes? thread on Polycount
- Unreal Developer Kit - lightmaps thread on Polycount
- UDK Lightmap Resolutions thread on Polycount
- Texture Atlas Generator
- RadiosityNormalMap
Software
- RGBM Encoder - Polycount Forum
- Beast is used in Unreal Engine 3 and Unity3D
- giles
- Light Map Maker (freeware)
