Difference between revisions of "Texture Coordinates"
EricChadwick (Talk | contribs) (→UV Tools: standalone, IPackThat) |
EricChadwick (Talk | contribs) (more summary, and UV Address Modes) |
||
| Line 1: | Line 1: | ||
| − | Texture coordinates, also called UVs, are pairs of numbers stored in the vertices of a mesh. These numbers are often used to stretch a 2D texture onto a 3D mesh, but they can be used for other things like coloring the mesh (see [[Vertex color]]), controlling the flow across the surface (see [[Flow map]]), etc. | + | Texture coordinates, also called UVs, are pairs of numbers stored in the vertices of a mesh. |
| + | |||
| + | These numbers are often used to stretch a 2D texture onto a 3D mesh, but they can be used for other things like coloring the mesh (see [[Vertex color]]), controlling the flow across the surface (see [[Flow map]]), etc. | ||
| + | |||
| + | Game engines commonly use two texture coordinates, U and V, for mapping the width and height of a texture. A third axis W can also be used for depth if you are using a 3D volume texture, but usually this coordinate is removed for efficiency. | ||
| + | |||
| + | Texture coordinates are measured in a scale of 0.0 to 1.0, with 0.0 and 1.0 at opposite sides of the texture. When a model has a UV distance greater than 1 (for example, UV goes from -1 to 2) then the texture will tile across the model. | ||
| + | |||
| + | These numbers are usually hidden from the artist, replaced by helpful visual representations of how the textures are projected. Planes, cylinders and spheres help the artist align the textures in a visual way, but it helps to know that games only see the UV numbers that these shapes create. | ||
| + | |||
| + | == UV Address Modes == | ||
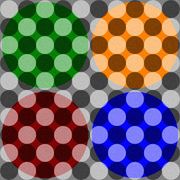
| + | Border, Clamp, Mirror, and Wrap are four common methods for controlling how a texture is rendered when the UVs go beyond the 0-1 square. | ||
| + | |||
| + | The default is usually Wrap, which means the texture will tile. Border, Clamp, and Mirror are helpful in specific situations. | ||
| + | |||
| + | Border is good for use with decals, since you don't want the edges to tile and cause rendering seams. | ||
| + | |||
| + | Clamp is great for use with cubemaps, since you don't want seams to appear along the edges of each cube face. | ||
| + | |||
| + | Mirror has a tendency to create Rorschach/butterfly artifacts, but could be useful in certain situations. | ||
| + | |||
== UV Tutorials == | == UV Tutorials == | ||
Revision as of 18:00, 25 February 2015
Texture coordinates, also called UVs, are pairs of numbers stored in the vertices of a mesh.
These numbers are often used to stretch a 2D texture onto a 3D mesh, but they can be used for other things like coloring the mesh (see Vertex color), controlling the flow across the surface (see Flow map), etc.
Game engines commonly use two texture coordinates, U and V, for mapping the width and height of a texture. A third axis W can also be used for depth if you are using a 3D volume texture, but usually this coordinate is removed for efficiency.
Texture coordinates are measured in a scale of 0.0 to 1.0, with 0.0 and 1.0 at opposite sides of the texture. When a model has a UV distance greater than 1 (for example, UV goes from -1 to 2) then the texture will tile across the model.
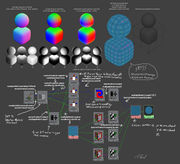
These numbers are usually hidden from the artist, replaced by helpful visual representations of how the textures are projected. Planes, cylinders and spheres help the artist align the textures in a visual way, but it helps to know that games only see the UV numbers that these shapes create.
Contents
UV Address Modes
Border, Clamp, Mirror, and Wrap are four common methods for controlling how a texture is rendered when the UVs go beyond the 0-1 square.
The default is usually Wrap, which means the texture will tile. Border, Clamp, and Mirror are helpful in specific situations.
Border is good for use with decals, since you don't want the edges to tile and cause rendering seams.
Clamp is great for use with cubemaps, since you don't want seams to appear along the edges of each cube face.
Mirror has a tendency to create Rorschach/butterfly artifacts, but could be useful in certain situations.
UV Tutorials
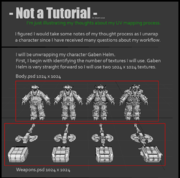
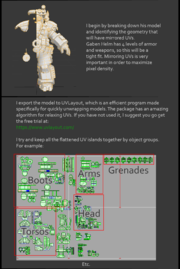
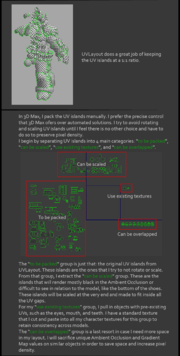
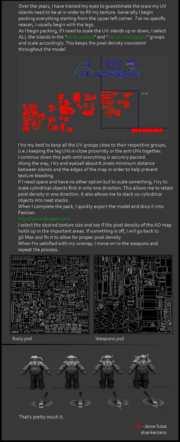
| UV mapping thought process. Images by Jesse "skankerzero" Sosa. | |||
- UV Unwrapping Best Practice Factors & Priorities Polycount Forum thread.
- 3DS Max - UVing complex objects Polycount Forum thread, UVs for complex cylindrical-shaped meshes.
- Best techniques for packing UV’s Polycount Forum thread.
- An Introduction To UVMapping In 3d Studio Max by Ben Tate.
- UV Theory Polycount forum thread, how to plan good UVs.
- As it turns out, we all suck at unwrapping? Polycount forum thread.
- Step-by-Step Techniques for Tiling Textures in 3ds Max - by Chris Holden, how to make texture atlases.
- Organic rock UV seams Polycount forum thread, how to create good UVs for spheroids.
- Unwrapping a sphere Polycount forum thread, good methods for UVing spheres. For sphere modeling tips see SphereTopology.
- First-Person Weapon UVs by Joe 'EarthQuake' Wilson, good weapon UVs.
- Maya / Mudbox: Street Cop Workflow by Mashru Mishu, good character UVs.
- uv + turbosmooth= big problem Polycount forum thread, how to prevent 3ds Max subdivision from distorting UVs. A similar thread: Best way to approach unwrapping UVWs with Meshsmooth?.
- What's an 8-sided tiled texture ? Polycount forum thread, how to edit textures so you can rotate and mirror them on adjacent polygons without seams.
- Light map#Light_Map_Texture_Coordinates
- TextureAtlas
UV Tools
Standalone
- IPackThat by "[PB]Snoelk"
- UVLayout by Headus
(Standalone means not integrated into one of the main 3d packages)
3ds Max
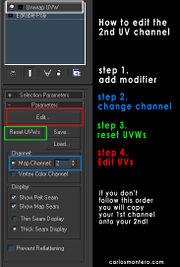
- TexTools
- PolyUnwrapper
- Texture Atlas Generator
- turboTools
- Normalize UVs Maxscipt
- LCSM Unwrap
- 3ds Max Bridge to Headus UV Layout
- 3ds Max Bridge to Roadkill
- morphMap
Maya
Softimage / XSI
- Softimage Bridge to Headus UV Layout
- Texturing Scripts on CreativeCrash.com
- Softimage Bridge to Roadkill
UV Map Grids
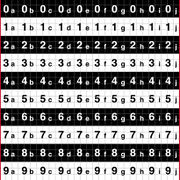
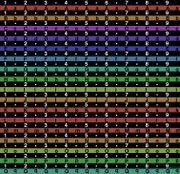
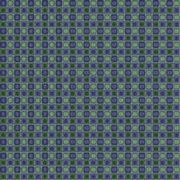
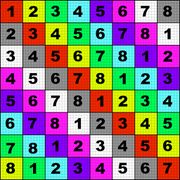
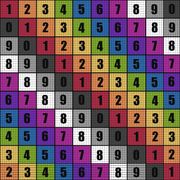
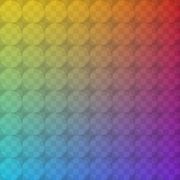
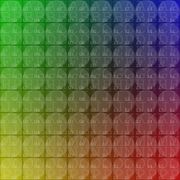
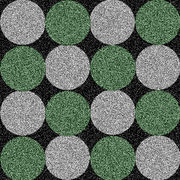
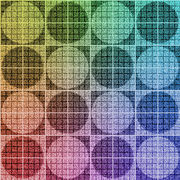
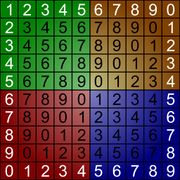
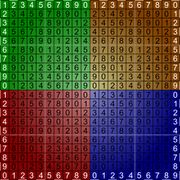
The grid is a texture to use while unwrapping a mesh. Sometimes called a custom UV map template, a UV checker, or a test grid.
Good things to have in a UV map grid:
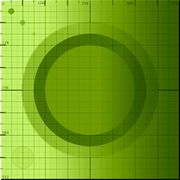
- A large checker grid to see large distortions.
- A fine per-pixel grid to see small distortions.
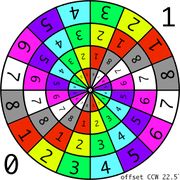
- Circles help with solving distortion, as it's easier for the human eye to see when a circle is distorted than a square.
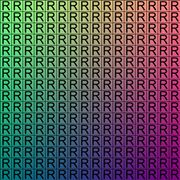
- Unique colors across the map, to see where the UV is tiling.
- Letters and/or numbers to see when the UV is reversed.
- Letters and/or numbers to see where a mesh feature is located in UV space.
