ModelingRubbleIntoAPath
In this post, Joshua Stubbles says:
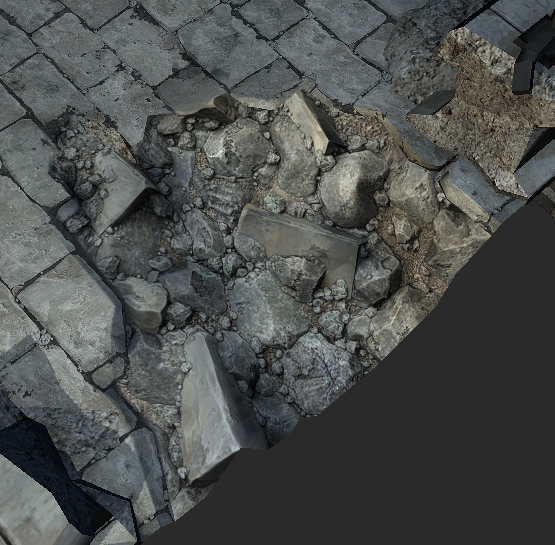
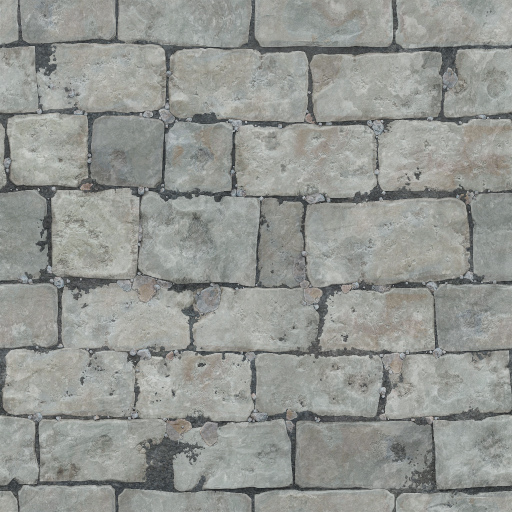
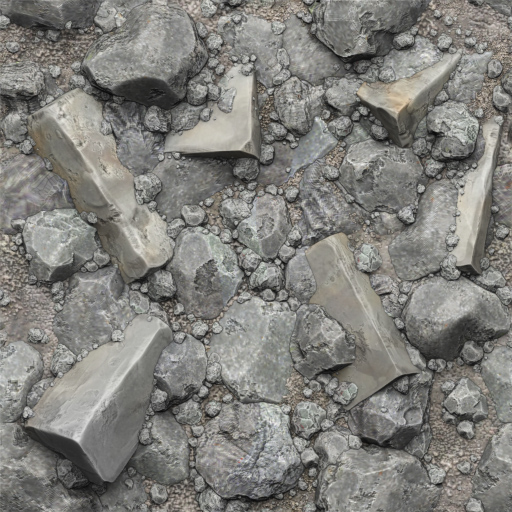
Both textures were made in Zbrush. The bricks and rubble were all sculpted as separate ZTools and textured with Polypaint in Projection Master. For the Polypainting I used really plain textures where I removed all of the light/shadow information. They were projected onto the bricks and rocks using the alpha brush, to give depth, as Tate Mosesian points out in this Zbrush series: http://www.pixologic.com/zclassroom/homeroom/lesson/environments-with-tate-mosesian/
The textures were then laid out in a 2.5D canvas and on different layers, for more control. Having things on different layers also allowed me to go back and do things like changing the color or contrast of just the dirt, or the tiny rocks.
The large bricks in the rubble used the same brick meshes that I made the pathway out of. The textures all started off with the same base textures in Polypaint and were both color matched in needed areas.
There are some things I need to go back and fix, though. The dirt/grout of the path is really dark, while the dirt of the rubble is very light. That looks bad. I might also do some Fallout-esque edge blending decals on the edges of the broken areas, to make it blend (any illusion of blending is just due to the even tone/color between textures, there are definitely seams).
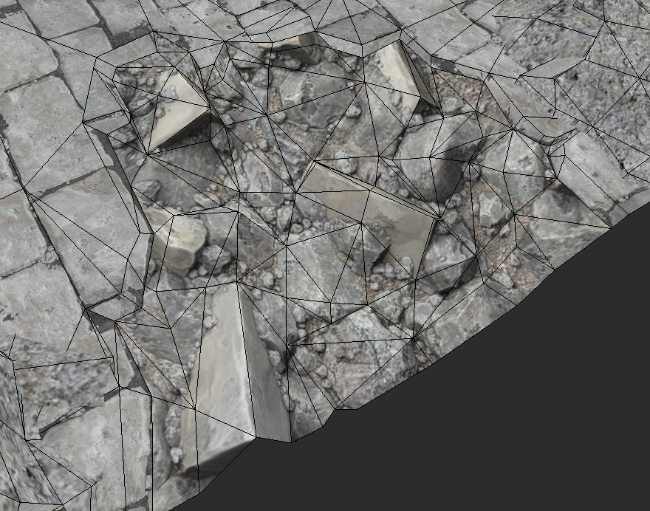
The damaged geo on the pathway was initially cut in and was very smooth as a rough shape. Once the rubble texture was applied, I used Max's cut tools to slice areas of the rubble and pushed/pulled verts around to accentuate the depth of the texture.


